As I mentioned in a previous post, I thought it time to attempt a ram boost in the VMWare server. This would be to give me more headroom to do some Windows 10 testing. My normal suppliers (Newegg and Amazon) either didn’t have the DDR2 memory or it was priced like gold. So I decided to gamble and make an ebay purchase. A Chinese seller named computex_tech (storefront Computex_ifixit) in specific. I’m going to relay my entire experience; realize your experiences may differ.
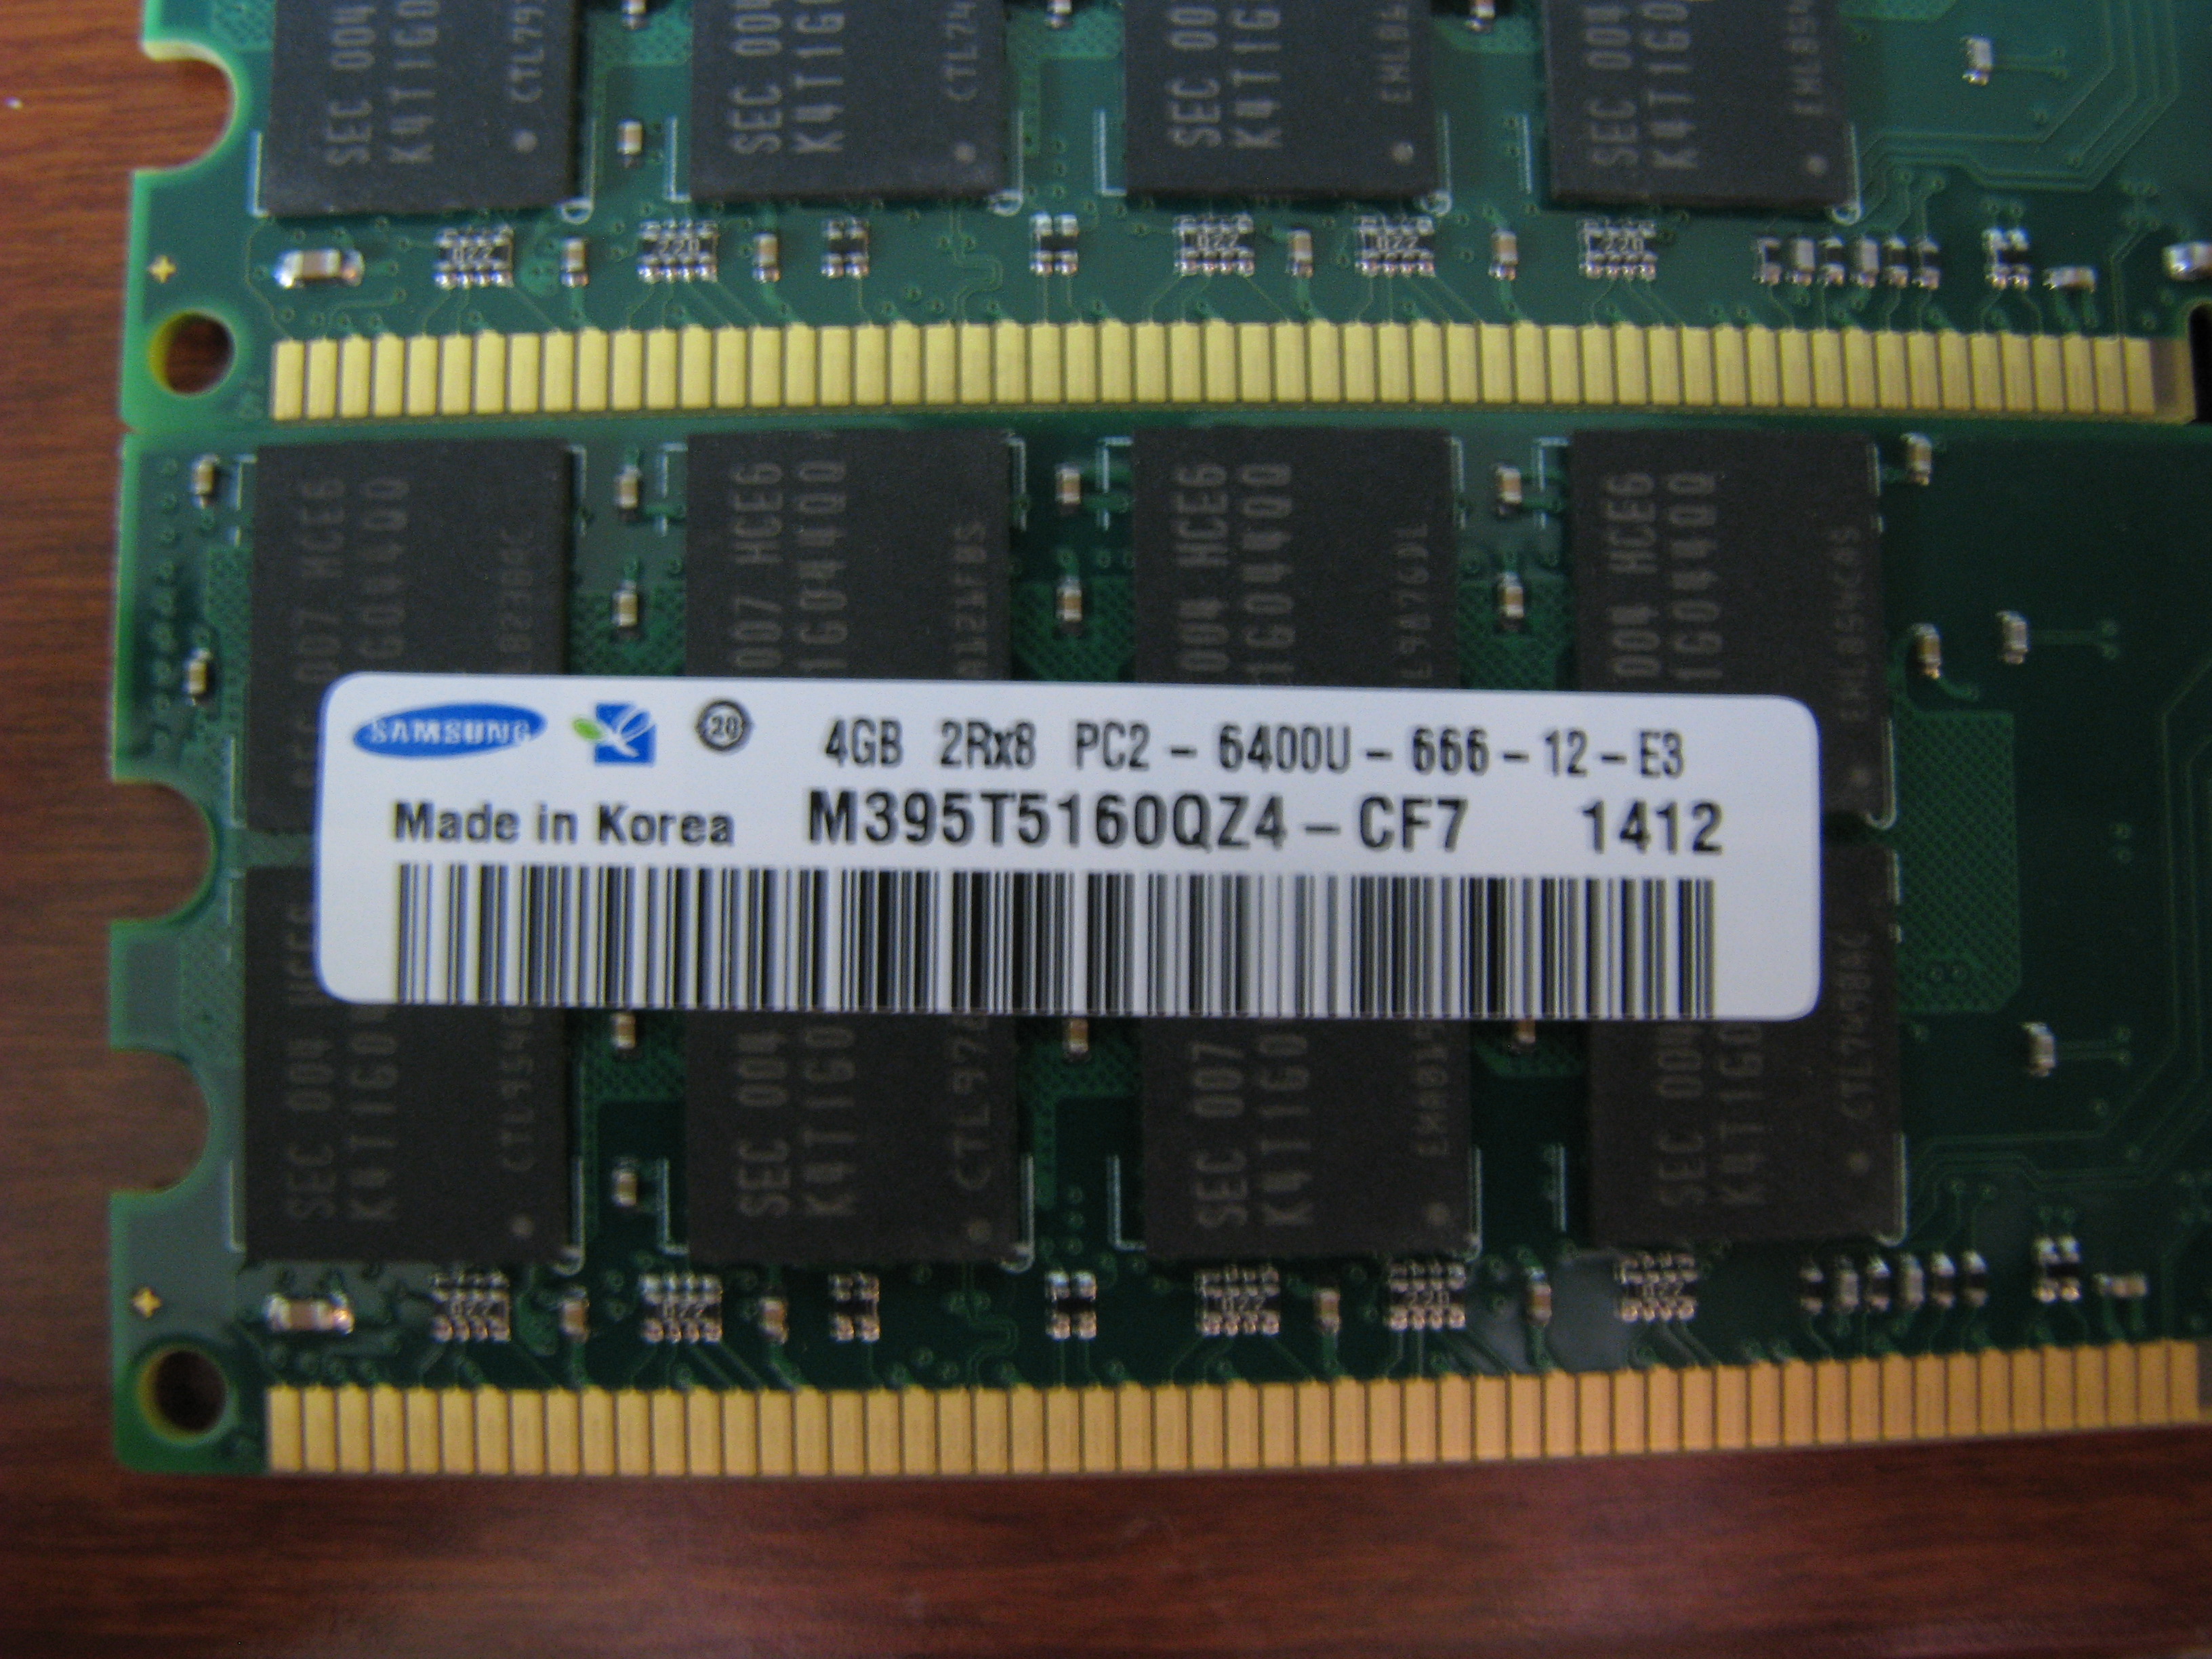
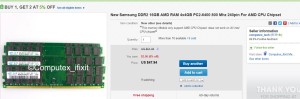
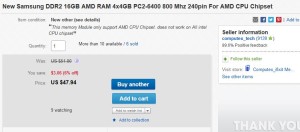
I made the order from this auction, selling ‘New Samsung DDR2 16GB AMD RAM 4X4GB PC2-6400 800 Mhz 240pin For AMD CPU Chipset‘. The purchase went smoothly and the ram arrived in about ten days, well within my expectations. So good so far.
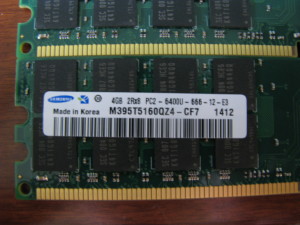
I found some free time (not the easiest thing to do), suspended each of the running virtual machines, and powered down the host. I flipped the power switch off on the back of the machine, opened it up, and swapped out the existing 2GB sticks with the new ram. Then I powered it back up. I gave it a couple minutes, then attempted to connect with the vSphere client. Nothing. After several more attempts over a ten minute window, still no connection. Okay, time to pull the machine and take to my upstairs kvm to see what is going on.
I connected it to the kvm switch and powered up the PC, watching the output on the monitor. After an extended boot time, ESXi ‘purple screened’. I restarted and got the identical result again. Below shows the result.
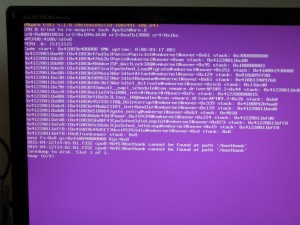
I powered down, swapped back in the original memory and took back to the basement. Powered back up so the media pool would be available to everyone again.
I contacted the seller. Over the course of the next week (he’d reply in the middle of the night due to the time difference) we each replied once a day. The first few replies were eliminating simple mistakes and were scripted (“What MB? It is only for AMD.” and “if XP, check 32 or 64 bits.”) (I could include the exchanges for humor’s sake but there is really no point.)
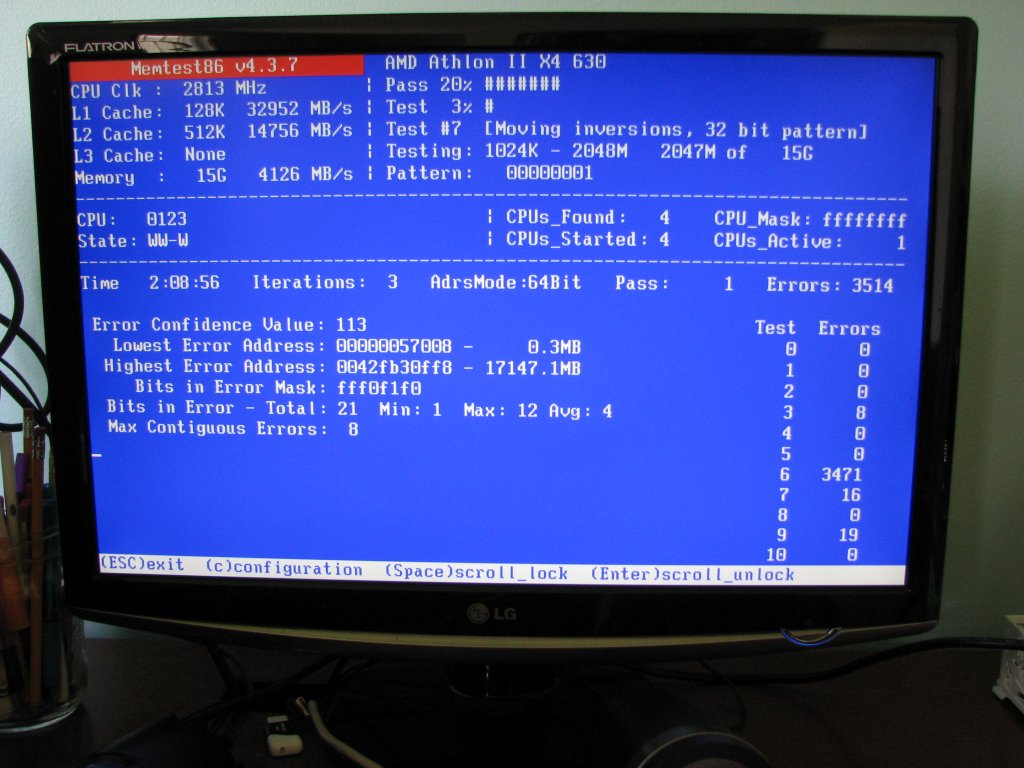
I finally found time, powered down, moved the machine back upstairs, and ran memtest. I stopped it at a little over two hours as that was all the evidence I needed.

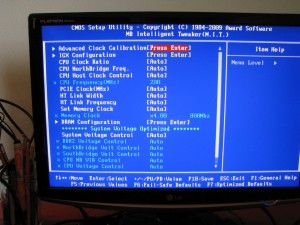
The memory was bad. Very bad. Errors were scattered across all 16GB meaning all four sticks of memory were bad. There was no way they could have tested this successfully, without errors, before shipping as they claimed. So I sent this information to them (along with the screenshot). They replied back that 667Mhz instead of 800 in the motherboard BIOS would cause these errors. Okay, the existing memory is 800 speed so I know the BIOS was showing 800, but I had no proof. So I shut it down, carted it upstairs for the third time, swapped the memory (I’m getting very quick with it at this point), and got to the BIOS screen. Lo and behold, it was showing 800 just as I knew. Screenshot and emailed info.
Quite obviously computex_tech has different Saturday (or was it Sunday?) employees than the rest of the week as their reply was gibberish.
Now they have offered to trade the memory, but I have found out that would cost more than the purchase price, even more than that if I want tracking. They suggested I just “stamps on it” but I would still need the very expensive tracking. I did some googling to see why China-to-USA was so much cheaper. Google ‘epacket ebay’ for some enjoyable reading. Basically our USPS service and the Chinese government are subsidizing sellers so they can dump cheap items into our country. It is set up so you can buy cheaply, but if you have to return a defective product, good luck. Buyer beware. This was a $51 lesson I’ve learned. They can send you absolutely defective product (like my four sticks) and know that you really can’t do much about it. Computex_tech knows this. I would not even attempt to return for replacement as if I was four-for-four in failed memory, I can only imagine the chances of getting good stock would be.
This post is meant to just give a headsup so you know what you might run into purchasing from Chinese auctions. You might get perfectly functioning product. But if you do not, realize you’ve thrown away good money. It will cost more to return (for refund or exchange) than you paid, so you’ll be stuck with a small pile of bad ram.
What a good memtest looks like
Below you will see what I got when I tested the GSkill memory that has been running 24×7 for the past five years. Perfection!!!
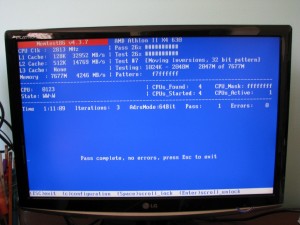
The original GSkill Memory from the last five years

 The Handbrake settings are mostly default.
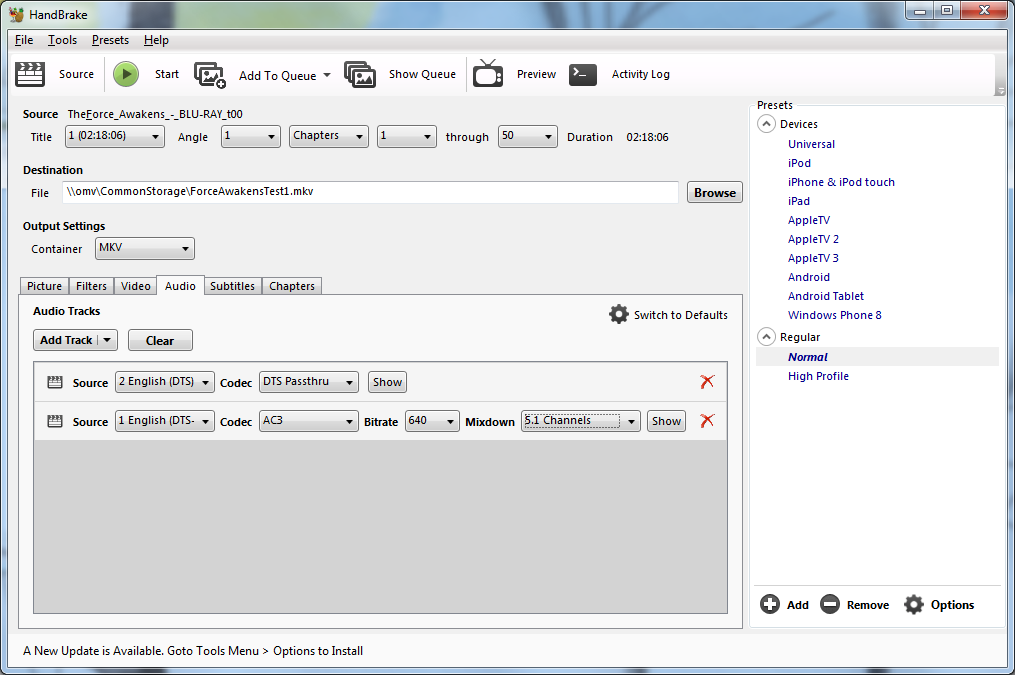
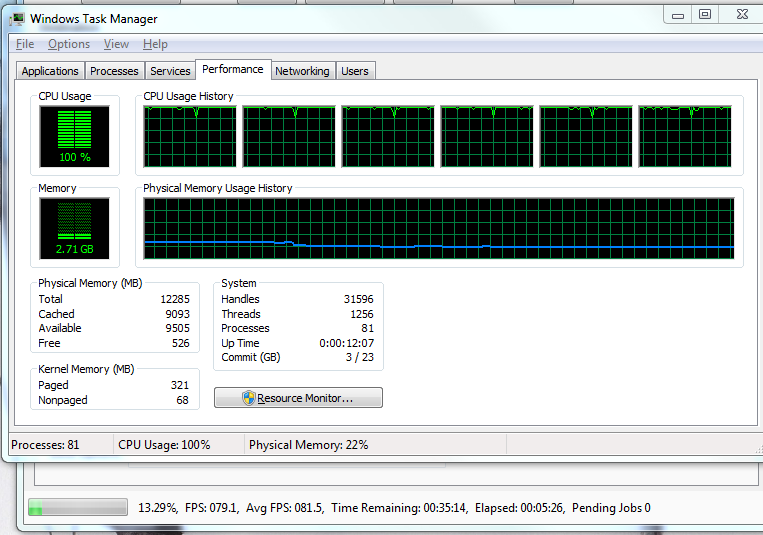
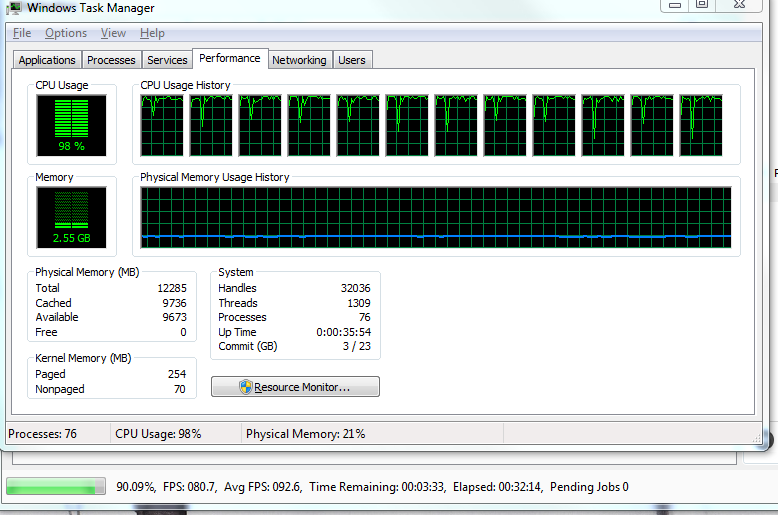
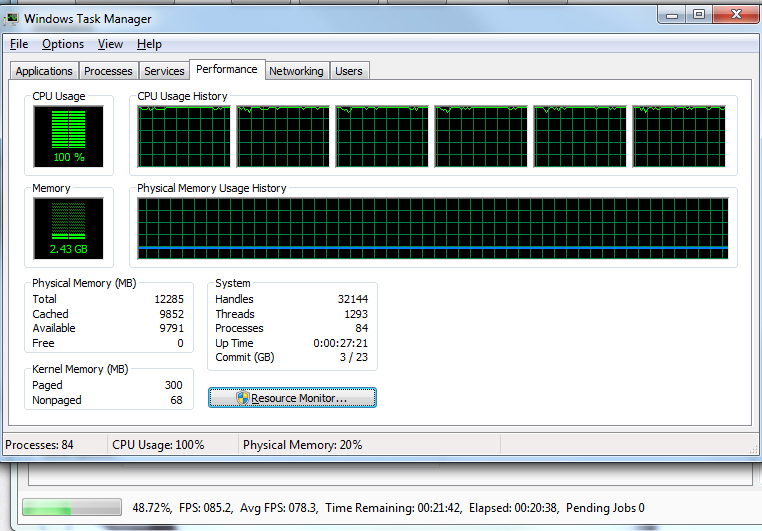 The job completed in 42:26 at an average frames per second of 77.8
 I used the same Handbrake settings as previously, and then started the job.